This post explains about configuring the WCF REST service and how to use the GET and POST methods to expose data to be consumed by the clients.
The first step is to create a WCF Service application project in the Visual Studio. I am naming my project as EmployeeService

Once the project is created you can see two files namely IService1.cs and Service1.cs. For now we'll delete the above two files and create our own service class and interface from scratch.

Next right click on the EmployeeService project and add a new item, that is create a new WCF Service file and name it as EmployeeService.svc. You can see two files EmployeeService.svc and IEmployeeService.cs being created in your solution explorer.

The IEmployeeService.cs file is the interface where we will be creating the Service Contract and Operation Contract to be shared with the client . Here for the demonstration purpose, I've created an Employee Class with two properties name and department with both the getter and setter methods. You can also create a separate class for the Employee Class. Also don't forget to include the [DataMember] attribute before the name and dept properties.
Then in the IEmployeeService interface we will define two Operation Contract, one each for the GET and POST method. The attribute WebGet is used for implementing the GET method. Whereas WebInvoke is used for the POST, PUT and DELETE methods.
The parameters used inside WebGet are :
1) UriTemplate - This is used to indicate the URI format that will be used for sending the GET requests and you can use this parameter to get the data from the URI
2) ResponseFormat - This is used to indicate the response data format. It can be either in Json or Xml format
3) RequestFormat - This is used to indicate the request data format. It can be either Json or Xml. This parameter is not required unless you're sending in a particular format.
Similar to WebGet, WebInvoke has the same parameters with the additional parameter of method which specifies the method to be used for communication. It can be one of POST, PUT and DELETE.
When client makes the call to the WCF, either JSON or XML is used depending on the WebGet and WebInvoke attribute configurations. Here in the GetEmployeeUsingGET method we are simply taking the name and dept properties from the URI and in the GetEmployeeUsingPOST method we didn't specify any data in the URI because we will taking the data from the request body
Note: To use data from the URI specify the data inside the curly braces{}. Thus the service can know that it is not the part of the URL but the data itself.

Then press Ctrl + (.) and select Implement interface "IEmployeeService " option and you will see the two methods being implemented in the EmployeeService class.
This is just one of the cool features of VS.
By default the methods throw some exception, so delete those two return statements from both the methods.We need to give our own implementation for both these methods.

For the first method we will simply create a new Employee object with setting its properties to the data that we get from the Uri and return it.
For the POST method implementation we will simply return the Employee object that we are getting through the request body

Once you've implemented the Service Contract and the Operation Contract, the next challenge is to define the endpoints through which your service will be available. Now for using the WCF REST Service , the binding that we will be using is WebHttpBinding. Then you just have to define the service name and the endpoint contract. The behavior configurations can be configured as below and put separately inside the <behaviors> tag.
Note: The service name is the fully qualified name of your svc file whereas the binding contract is the name of your interface.

Next to enable the CORS i.e the cross origin resource sharing(You can read more about CORS at http://en.wikipedia.org/wiki/Cross-origin_resource_sharing) create a new Global Application Class file. I've named it as Global.asax.

After opening the file you will see some default methods defined in it. Search for the Application_BeginRequest method and add the following lines inside it. These statements are simply used to enable the cross origin requests coming from the clients. The code below adds the following lines to the header. You don't need to worry too much about this code.

Huh! You've made it so far. We're almost done!
Now that our WCF REST service is ready, we need to build it and check if it works as expected.
Right click on the project and click build. This will build the project. You should see a Build Successful message at the bottom of your VS.

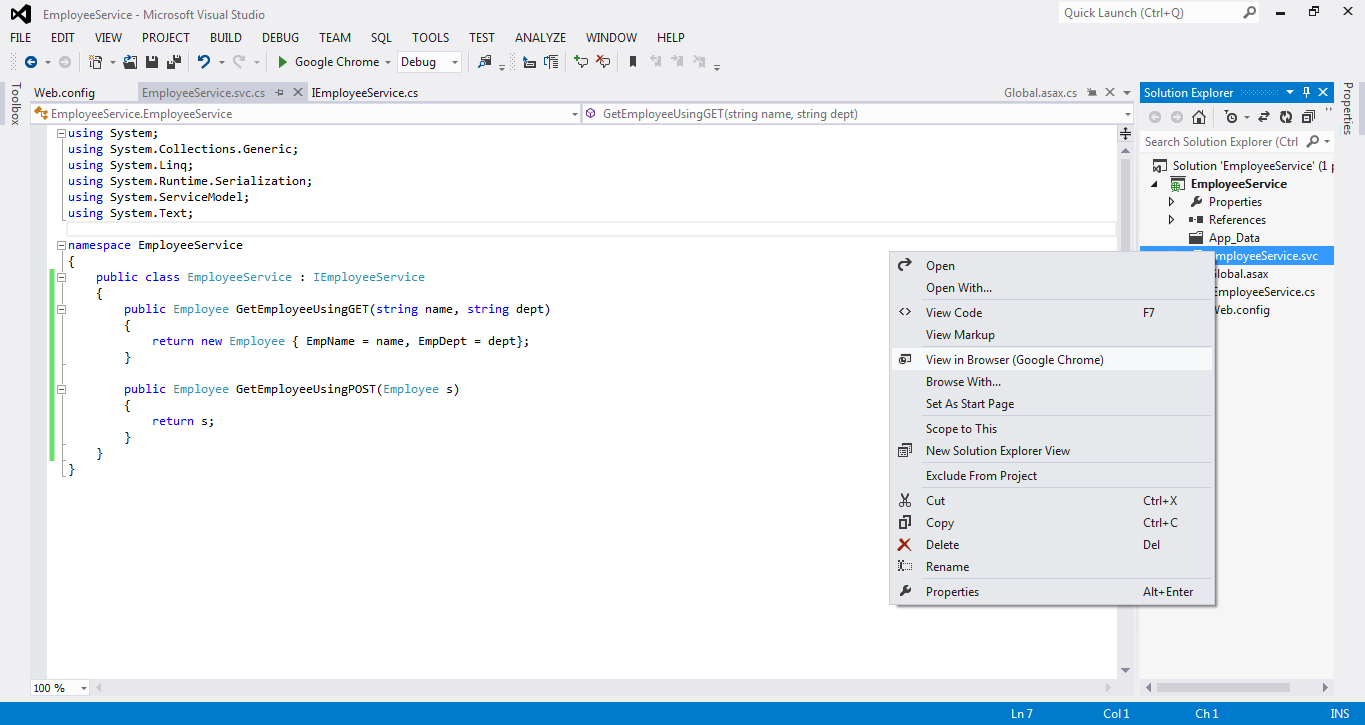
Once you've successfully built your project, right click the EmployeeService.svc file and select the View in Browser option.
This will take you to the browser and open the EmployeeService.svc file. If you can see a similar page that indicates your service is ready to be consumed by the client.
Note: Just click on the second link which reads
http://localhost:55095/Employeeservice.svc?singleWsdl. This is basically the WSDL(Web Services Document Language) document that is being shared with the client. This includes the data and methods that are being shared with the client in the XML format.

For consuming the service we won't be creating a separating application. We will use Fiddler for checking the WCF service. You can download the Fiddler software from the following link:
www.telerik.com/fiddler
After you've opened Fiddler, click the Composer tab and paste the following link besides the GET tab
http://localhost:55095/Employeeservice.svc/getEmployee/Rogers/Manufacturing
and click execute button on the right.

On the Left side you should see the result code as 200. Then double click that row and eventually click the JSON tab, you should see the JSON response data being returned by the service as following:

Now to check the WCF POST method, click the options tab labeled GET and select POST as we are going to make a POST request. Then paste the following link besides it
http://localhost:55095/Employeeservice.svc/postEmployee
and in the request body below add the following json data :
{
"EmpName": "Adam",
"EmpDept": "Production"
}

Also add the following line to the request header to indicate the request data being in JSON format
Content-Type: Application/JSON

After clicking the execute button you should see a 200 status code in the result section. Then double-click that request and select the JSON tab where you can see the response json data that is being returned by the service.

Done!!! This will get you started with the WCF REST service.
In case you have any doubts or you're getting any error just comment below and I'll look to it.